Getting Started
Getting to Know GoZync
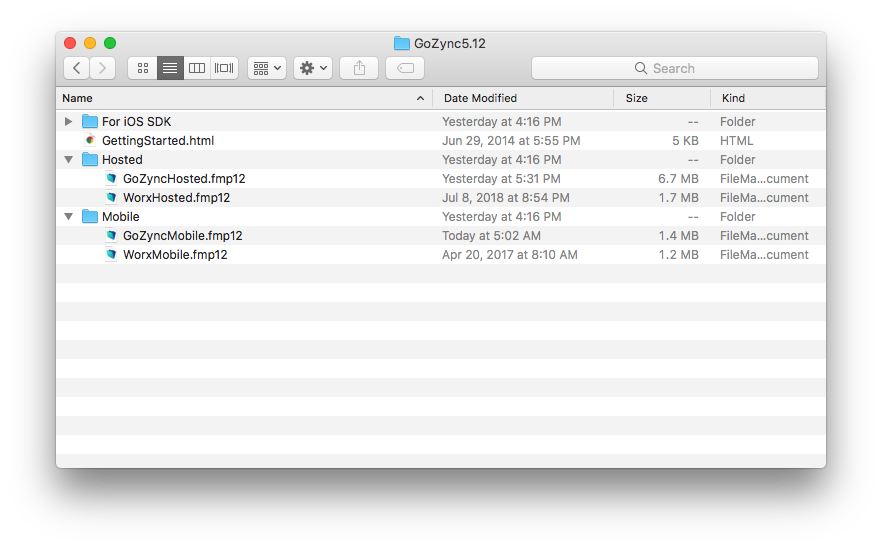
In addition to the GoZync framework itself, GoZync ships with an example file you can use to see how syncing works. In the "Mobile" folder, you'll find "WorxMobile.fmp12". This file will eventually be the remote file on your iPad. In the folder "Hosted" you'll see "WorxHosted.fmp12" which is the hosted version of the solution, the file in which your data will end up.
Using these two sample files, you can start playing with GoZync and see how it works before you integrate it into your workflow. You can use these files indefinitely with the free version of GoZync provided you don't add or change fields or table occurrences. Once you start making changes to the fields or tables in this example file you'll need to get a two week demo license or a ProZync License to keep going.
Check out this map of GoZync before returning here to start playing around.
Entering your GoZync License
When you purchased GoZync, you received an email that contains your license code. (If you're playing with the free version you can skip this section, as there is a LowZync license in there for you already).
You'll need to enter your license into GoZyncHosted.fmp12 (in the Hosts folder) before you can start using GoZync.
Learn how to enter your license... Adding Licenses ...then return here to start playing with GoZync.
Playing with GoZync in FileMaker Pro
Before implementing remote syncs, you can use GoZync locally to see how it works.
1. Open all the FileMaker files in the Hosted and Mobile folder and navigate to WorxHosted.fmp12. You'll see some sample data there.
The first screen is a portal of order statuses. Click on "open" in the left hand sidebar. Now mark one of the open records as "Scheduled". You'll notice this record is not yet in WorxMobile.fmp12
2. Go to WorxMobile and click "Zync" and GoZync will pull down any new orders scheduled for you AND mark that record as Checked Out in the hosted file.
3. Now you can manipulate that record in WorxMobile and click sync again: you'll see your changes in the hosted file.
4. Give the mobile record a signature and mark it "done" before syncing one last time: the mobile record will leave the file and be marked "Checked In" in the hosted file.
Pretty cool.
That is the basic way GoZync works, though it is much more impressive when your mobile files are running in FileMaker Go.
As you're integrating GoZync into your files, you may want to work like this – with both the local and hosted version of GoZync and of your solution on the same machine – rather than uploading things to your server. This will ensure that you don't accidentally compromise data while you're learning the ropes.
Checking it out using Hosted files or FileMaker Server
Next you'll likely want to host/serve the files in the Hosted folder.
1. Quit FileMaker and upload these to your FileMaker Server. You're just playing around now, so you can password protect the files if you want, or do that later. If you're not using FileMaker Sever, just make sure the files are open on the machine acting as your FileMaker host.
2. Once the files from the Hosted folder are hosted or on your FileMaker Server, open GoZyncMobile.fmp12 and change the file references that says "yourserveraddress" to point to your newly served instance of GoZyncHosted. Here's how:
From FileMaker's menu, select File / Manage / External Data Sources... and edit the source named "GoZyncHosted".
The source has two file references, a local one that looks like "file:../Hosted/GoZyncHosted" which you'll leave alone in each case, and one that looks like:
fmnet:/yourserveraddress/GoZyncHosted
Replace "yourserveraddress" with the name or IP address of your server. The name you enter here should be the same you use in FileMaker’s Open Remote dialog to open your hosted files.
Now do the same with other other Data Source in GoZyncMobile, replacing the "yourserveraddress" reference for WorxHosted with the same server name or ip address you used above.
Then close FileMaker Pro.
3. Now change the name of the folder "Hosted" to "xHosted". This will temporarily break GoZyncMobile's ability to find the local versions of the Hosted files, so it will instead look for the ones on your server. (You can only do this when all the relevant GoZync files are closed, hence closing FileMaker Pro in the previous step.)
4. At this point you can repeat the steps from "Playing with GoZync..." above, this time uploading contacts from your local copy of WorksMobile.fmp12 to the served instance of WorksHosted.
Playing on FileMaker Go.
Now that you've pointed your copy of GoZyncMobile.fmp12 at your server, you're ready to place the mobile files on your iPad and see how GoZync really works. Once WorxMobile.fmp12 is on your device, it can download new copies of itself, but you'll need to get it there manually the first time. To do this, open GoZyncHosted from your server and head to the Downloads tab. and You'll see an email icon right above the list of files: click that and email yourself: when receiving that email on your iOS devices, you can click on the link, open the hosted downloads layout in FileMaker Go, and click the "install" button to download both mobile files. Don't forget you need _both_WorxMobile and GoZyncMobile on your mobile device.
You can also email the file to yourself and check that mail on your iPad, or use iTunes to drag the file over to your iPad. (Make sure WorxMobile.fmp12 is closed before you do any of this.)
Once WorxMobile.fmp12 is on your device, you can resume the "Playing with GoZync..." steps at the start of this article, this time uploading orders from your iPad's copy of WorxMobile.fmp12 to the served instance of WorxHosted.
Downloading New Mobile Files.
The last thing to check out is how a Zync'ed file can download new copies of itself.
Downloading Visit the home layout in WorxMobile and click "Check for Updates". If this is your first time doing this, you should get a new version of the file (provided you've already synced your contacts).
Uploading. You can learn more about how to upload a new version here: distributing mobile files
Next Steps.
Now that you've gotten a sense for how this works, you can start integrating this with your own files. Instructions can be found here: Integration.
Enjoy!